Educators may want to assign a collection of YouTube videos to students for a project or study assignment. This tutorial will explain how this is done and relies mostly on a series of images.
I see this process in three stages – create a playlist, add videos to the playlist, share the playlist with a specific audience. The process works a little differently depending on whether you want to use videos you have created or videos created by others.
Stages 1 and 2 using videos created by others.
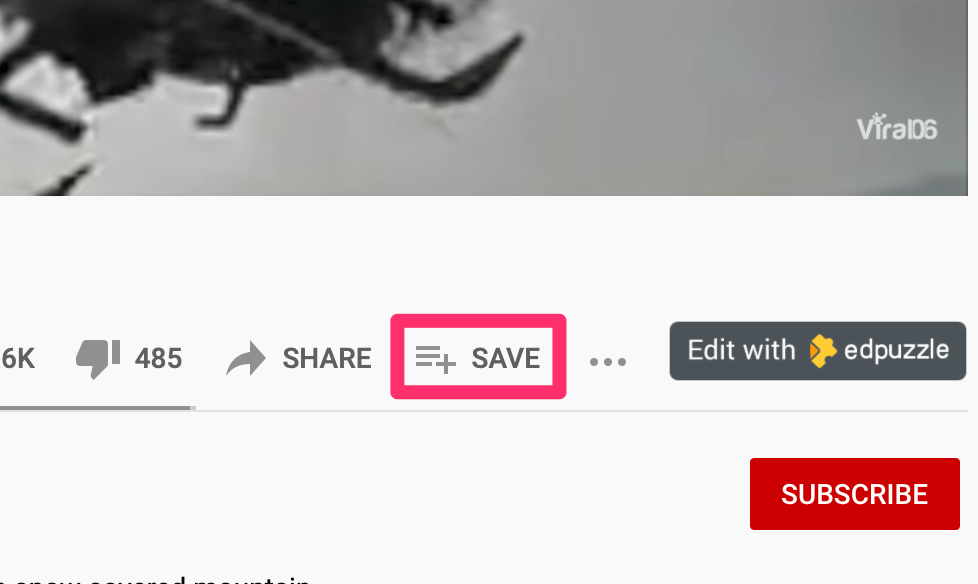
Beneath a video from another source, you will find this save icon. The save icon brings up the option of adding to an existing playlist or creating a new playlist. You would first create a new playlist with a video you wanted to use and then continue to add additional videos. The order of selection can be modified at a later stage so you don’t have to worry about the order when first creating the list.

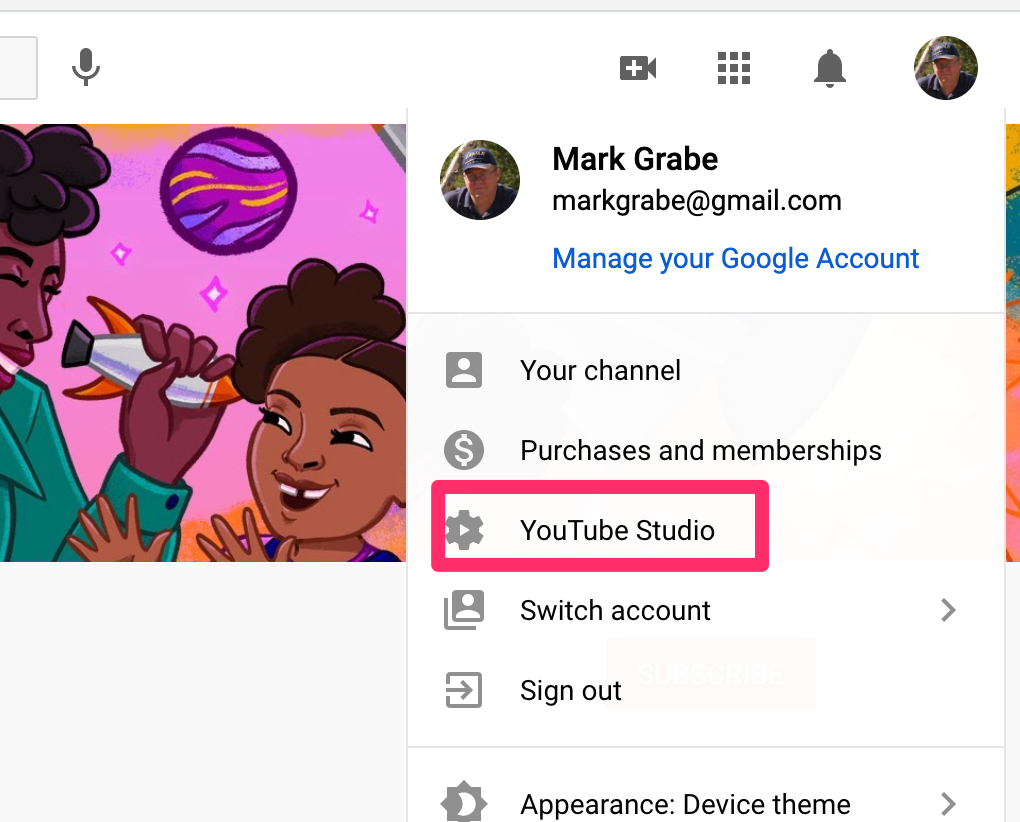
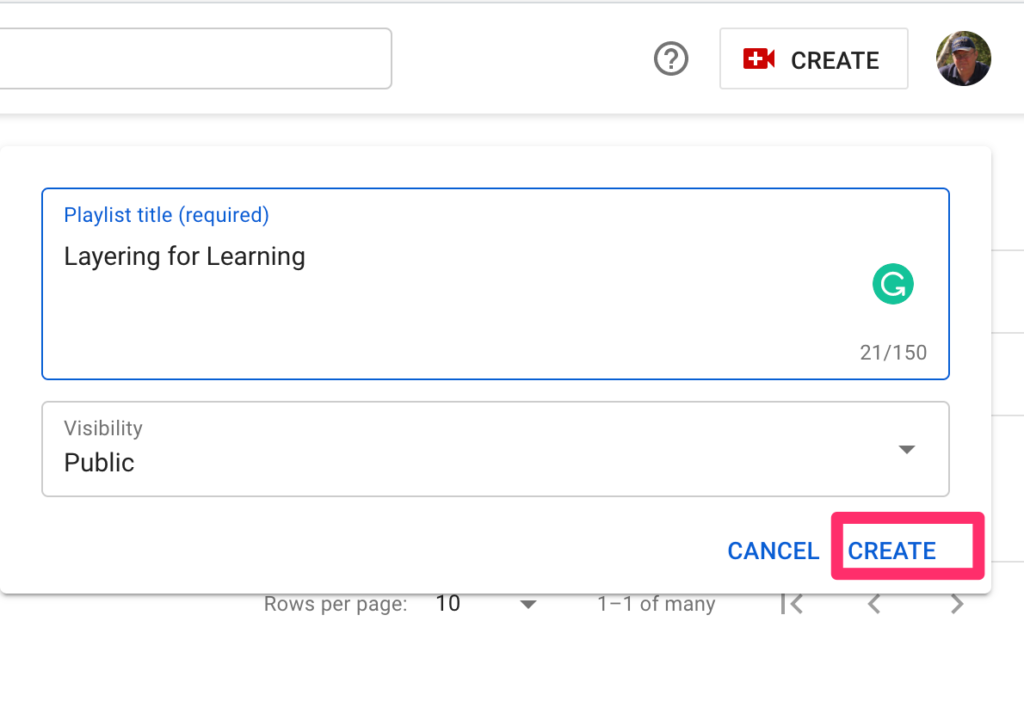
Working with your own videos or a mix of content from your own creations and existing videos seems to work a little differently. To create the list and add your own creations, work through the YouTube Studio.
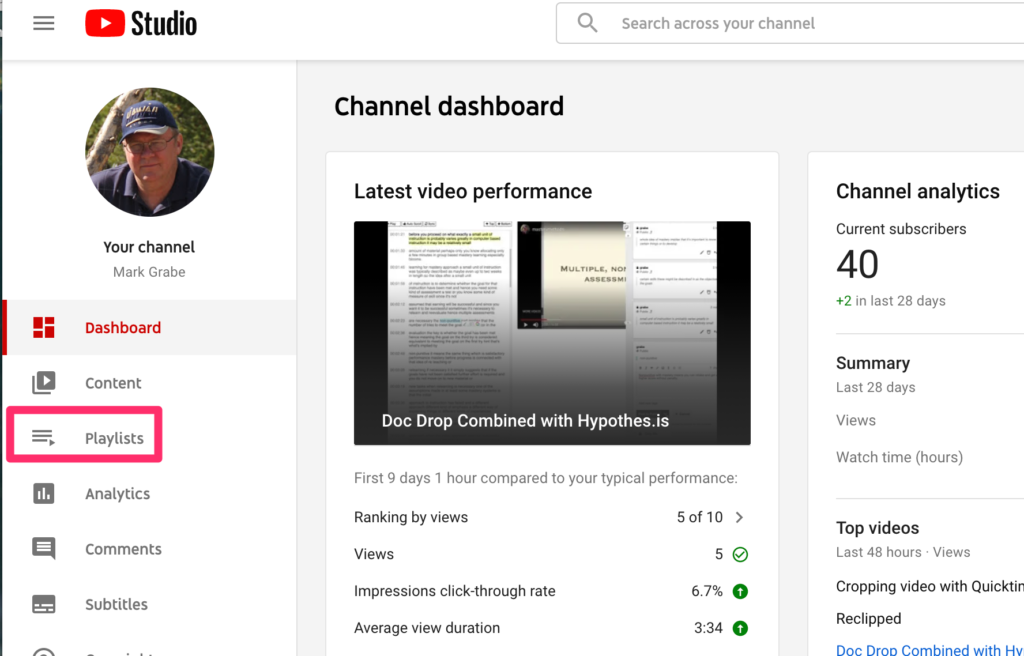
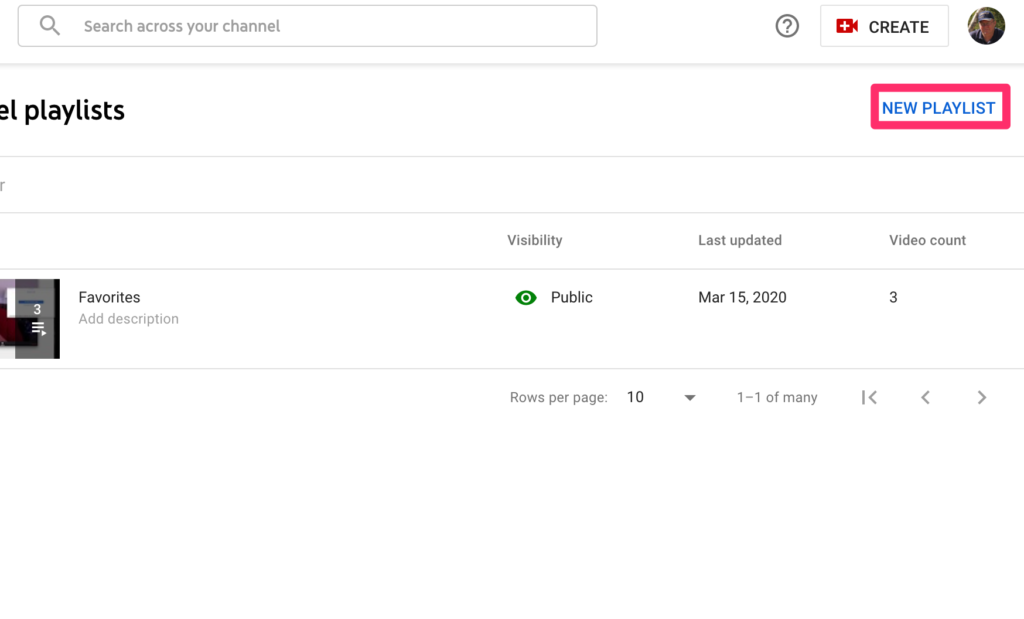
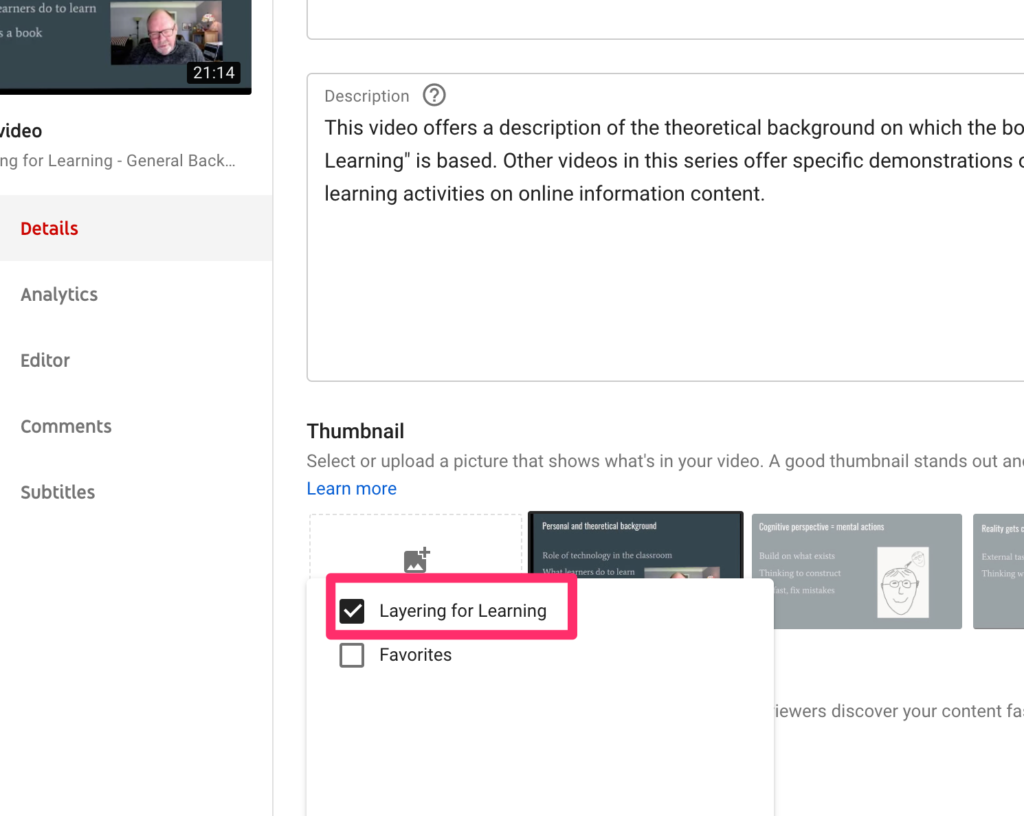
Within the Studio, you can then identify a video you have created to be added, open the video as if to edit, and then use the playlist feature to add to an existing playlist.

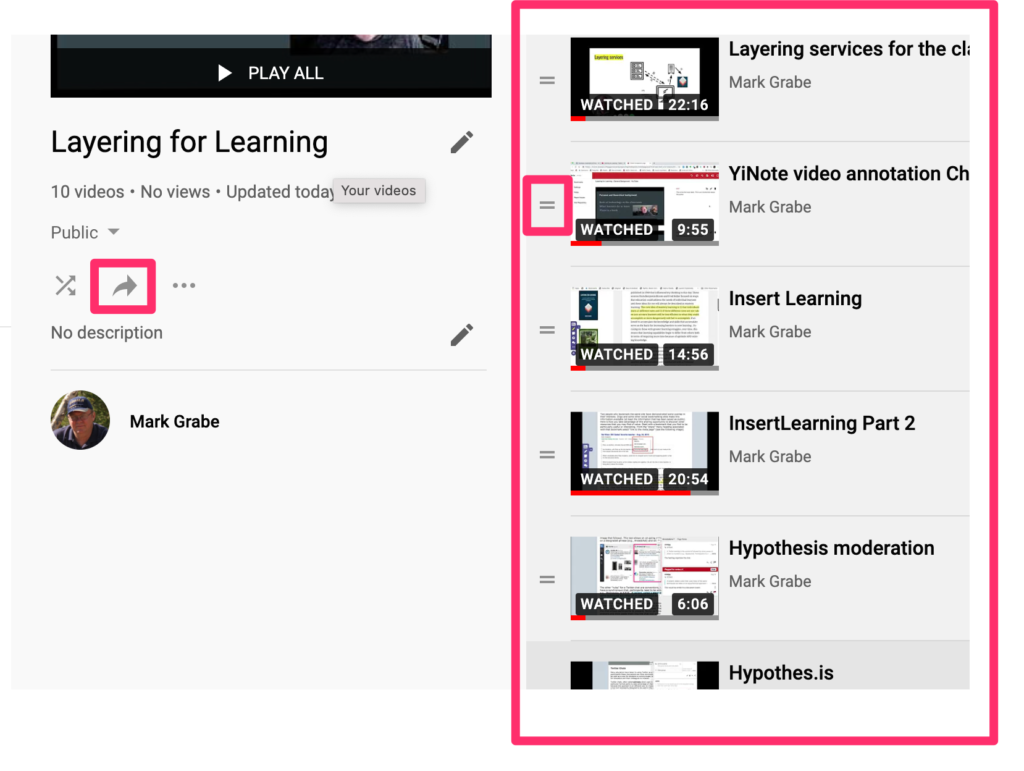
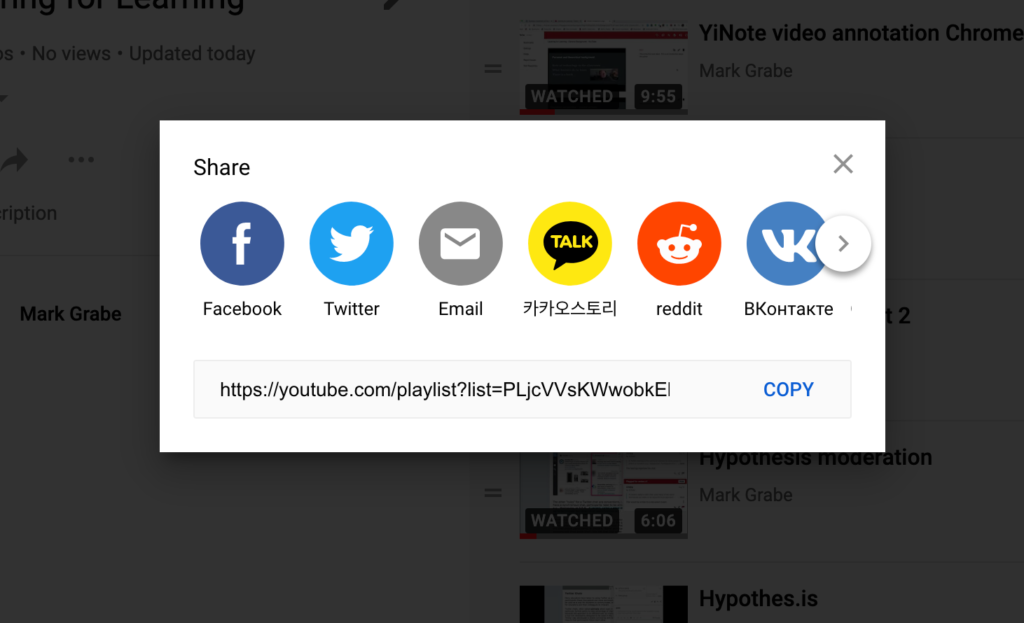
The final step is to share the list with students. Note in this image the share button (left) and the list of selected videos on the right. A key feature of this list of videos is the opportunity to reorder the videos. You drag the video with the small parallel lines icon to change the position. The share icon offers the opportunity to share to various outlets or allows the copying of the URL for sharing with specific individuals.
A sample playlist focused on my own efforts to explain Layering services was created using this process.
![]()
You must be logged in to post a comment.