I am considering this to be the third contribution to my series on Classroom Gardens. It is related to the other two posts which concern indoor hydroponic gardening only in that time-lapse video is an interesting way to demonstrate plant growth and variations of such a project would be easy to implement
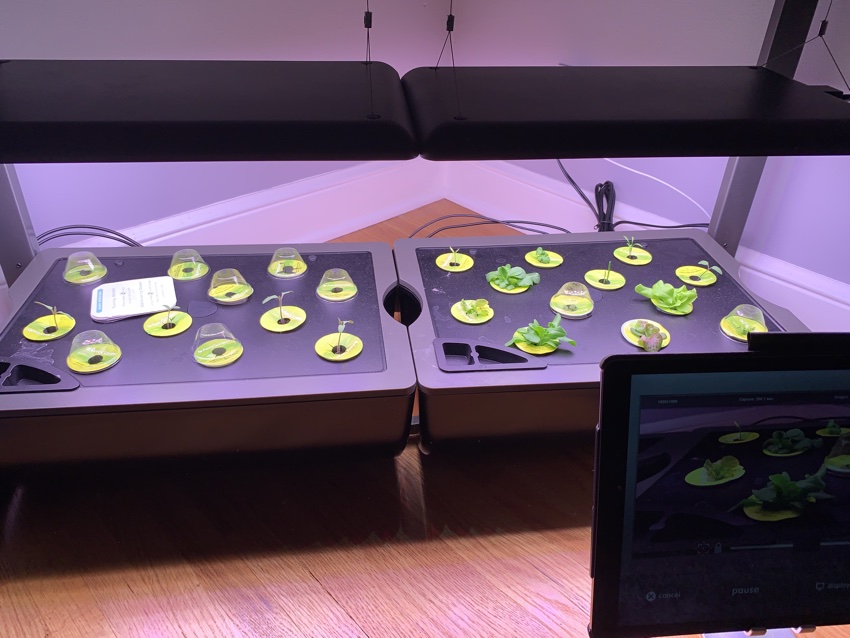
This is my setup for capturing the video of plant growth. The equipment toward the back of the image is the hydroponic garden and you can also see some young plants. Positioned in front and to the right of this garden is an iPad.
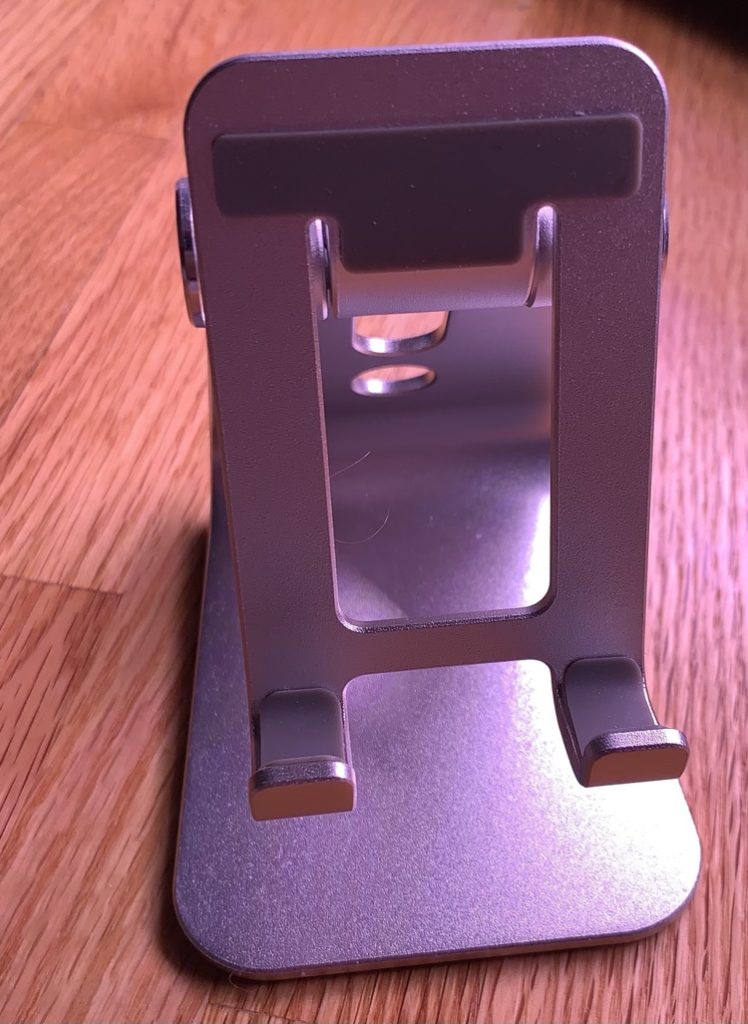
Time-lapse video requires a fixed location for the camera and steady control of the focus of the camera. This device (I wish I knew the name) holds an iPad. The video I provide was taken over a couple of weeks so you need to consider how you will create an environment allowing careful positioning of the camera. As long as no one bumps the iPad, this holder does the trick. A traditional tripod serves a similar purpose when time-lapse video is taken with a camera. It is also necessary to plug the iPad into a power source as the iPad remains active during this entire process so it would have run down the battery without being plugged in.
The app used for this process was iMotion for Schools. In the video tutorial that follows I incorrectly claim iMotion for Schools is the same price as iMotion Pro. I find different prices. I paid $3.99, but the iMotion for Schools page says $5.99
iMotion for Schools Tutorial
Here is the video created with iMotion.
The video you see here has been altered. The original video contained segments of black frames generated during the night when the lights for the hydroponic garden were off. One thing I do not explain in the tutorial which was already getting a little long was the opportunity to edit the video with the app (see tools when the completed video is open). There are tools for adding and removing individual frames. I used the delete frame tool to remove the blank frames. In the video, you see phases of smooth growth and then jumps. The jumps are caused by the growth that occurred during the night when the darkness prevented the recording of these changes.
One hint – you have to do this on the fly so I slowed during the frame rate to 1 frame per second to delete frames and speeded it back up to 16 frames per second before exporting the video. I don’t have an explanation for the flickering you see in the first section of the video. Because the growing lettuce fills the screen toward the end of the video and the flickering is no longer present, I assume the flickering was caused by the exposed lighting.
![]()