Social bookmarking may be a novel phrase to you. I use the phrase to describe any method for a group to organize and share bookmarks (links) to online resources. I want to explain how this can be done with the online service Diigo. This tutorial will consist of several components that describe: a) Diigo, b) Diigo account options, c) establishing a group, d) sending bookmarks to this group, and e) sharing access to the group.
Diigo is an online bookmarking service with social capabilities. Bookmarking involves saving a link to online resources you have identified. You may do this within your browser for the sites you visit frequently. An online bookmarking system allows you to share these bookmarks across devices even devices that you do not own. Bookmarking services typically allow many additional features such as attaching notes, tags, and perhaps even a “snapshot” of the bookmarked sites. This link takes you to a previous discussion of such services.
Diigo offers everything from a free to organization level subscription services. Knowing about these various service levels matters as the features available vary with the level. The free level allows only private group bookmarking. This may be just what a teacher wants. The Diigo group creator then has to share access to the bookmark group with individuals. I pay for the least expensive paid level ($40 a year). This allows me to establish one public group. A public group can be located and joined by others without the group originator having to contact each user. The group I established for this tutorial is such a group and I have membership access set to require that I approve someone wanting to join the group.

Create a Diigo Group.
The top of your Diigo browser window will contain these options. Use “My Groups” to add a new group.

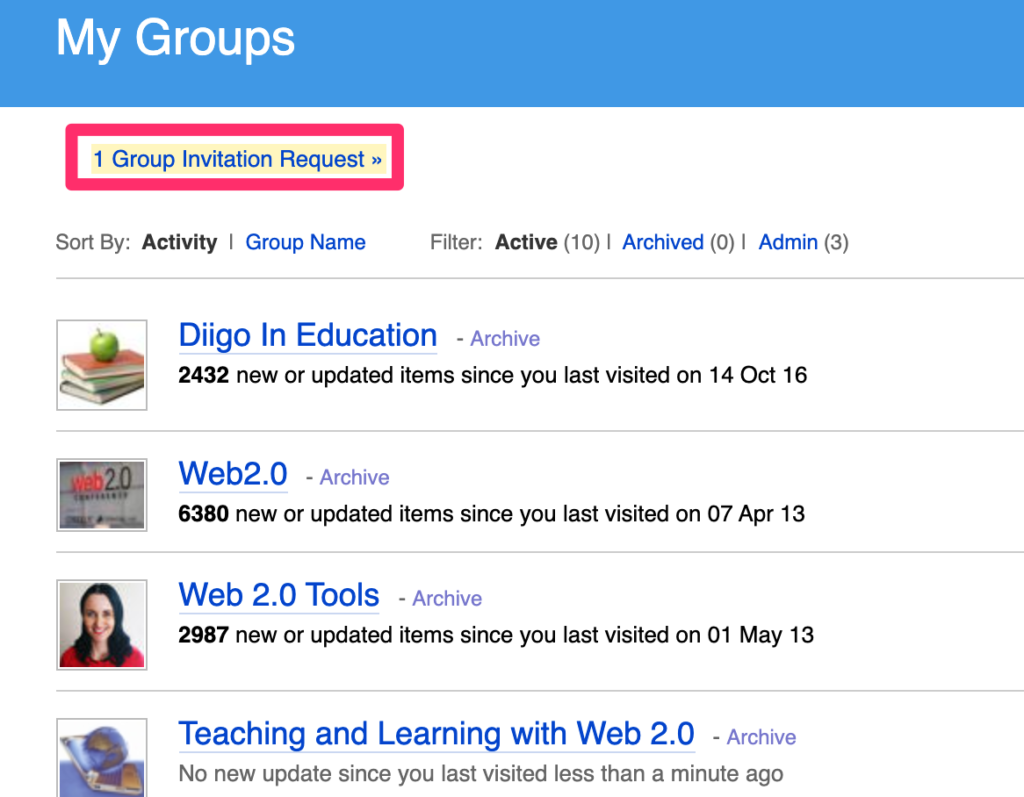
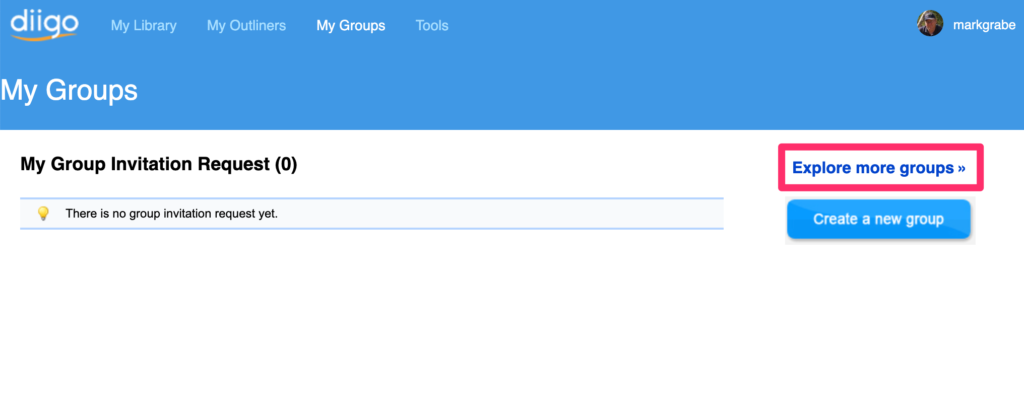
This display will indicate the groups I have already joined. To create a new group, use the “Group Invitation Request”. It is not obvious that this is the way to create a group, but this is the way I do it.
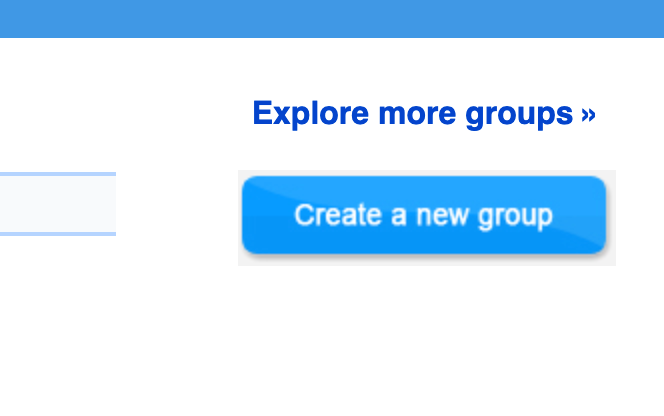
One of the options that should then appear is the button for creating a new group.
This button will bring up a form for labeling and describing the group you want to create. Note that some of the options are not available to someone with a free account. My example describes creating a group I label as “Layer for learning”.

Adding existing bookmarks to a group
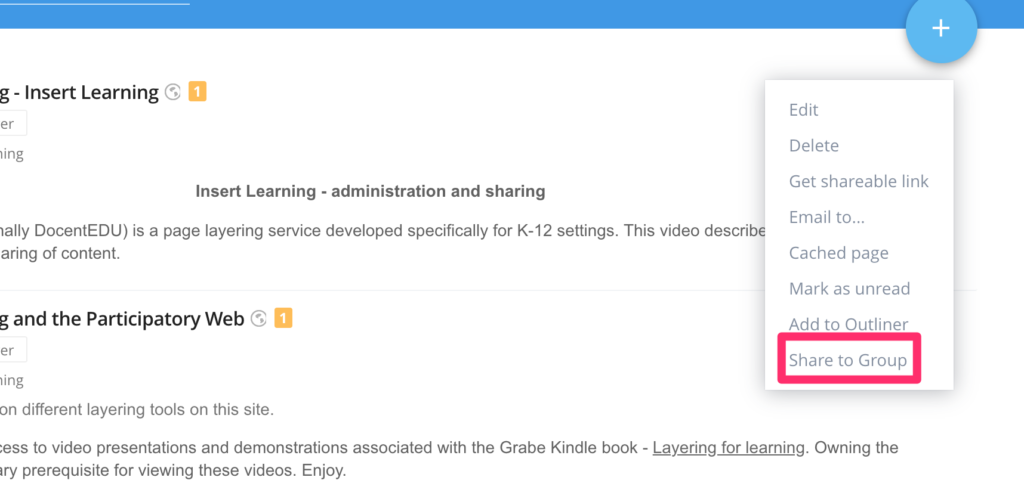
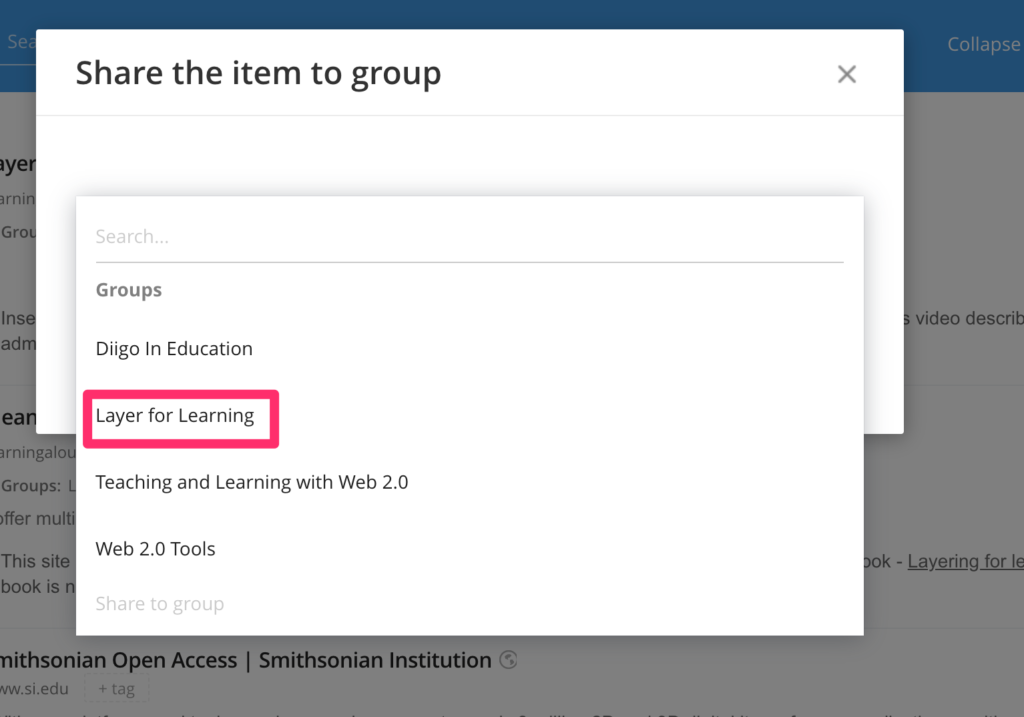
It is possible to create a group without contributing bookmarks, but it makes the most sense that to get a group started that you add some of your own bookmarks. To do this, you locate appropriate bookmarks in your personal collection. In the upper right-hand corner of each bookmark will be three dots. Clicking on these dots reveals options and among them is the share to group option. Select the group and members of the group will be able to view the bookmark you have shared.
Sharing access to the group collection
You may want or have to designate group members through invitation. As I mentioned at an earlier point, this is necessary if you are using a free account.
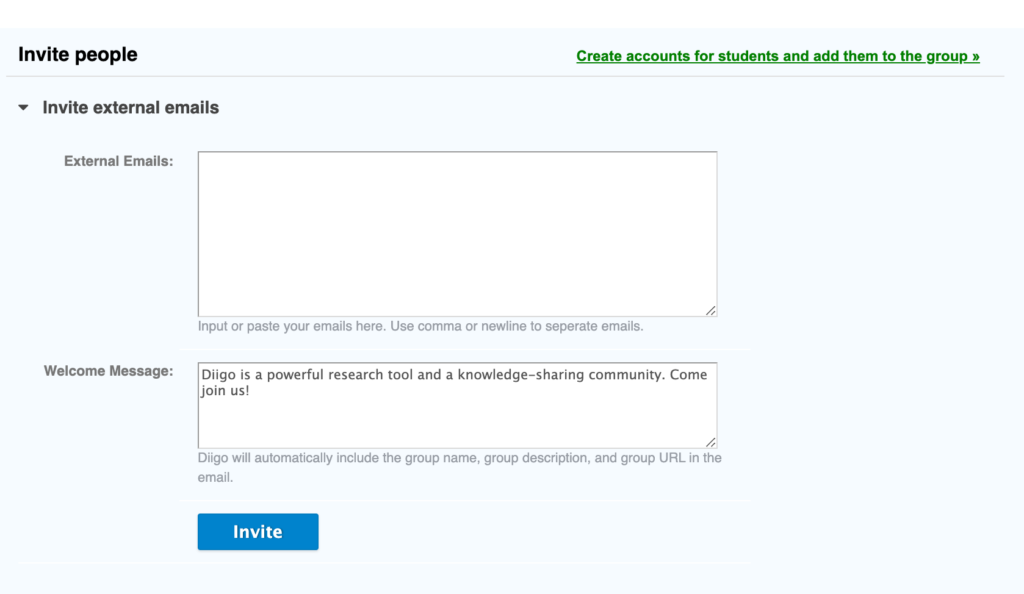
If you have a public group, you can share group access by providing others with the address. For example, I have created a group I will maintain if others find it interesting and add their own bookmarks. The group was created to explore what I describe as layering services. A layering service is a service that allows the annotation, highlighting, and addition of other elements to existing online content (web pages and videos) created by others. Layering offers a way for educators to take advantage of existing resources and add elements that improve the effectiveness of these resources for instructional purposes. Try https://groups.diigo.com/group/layer-for-learning.
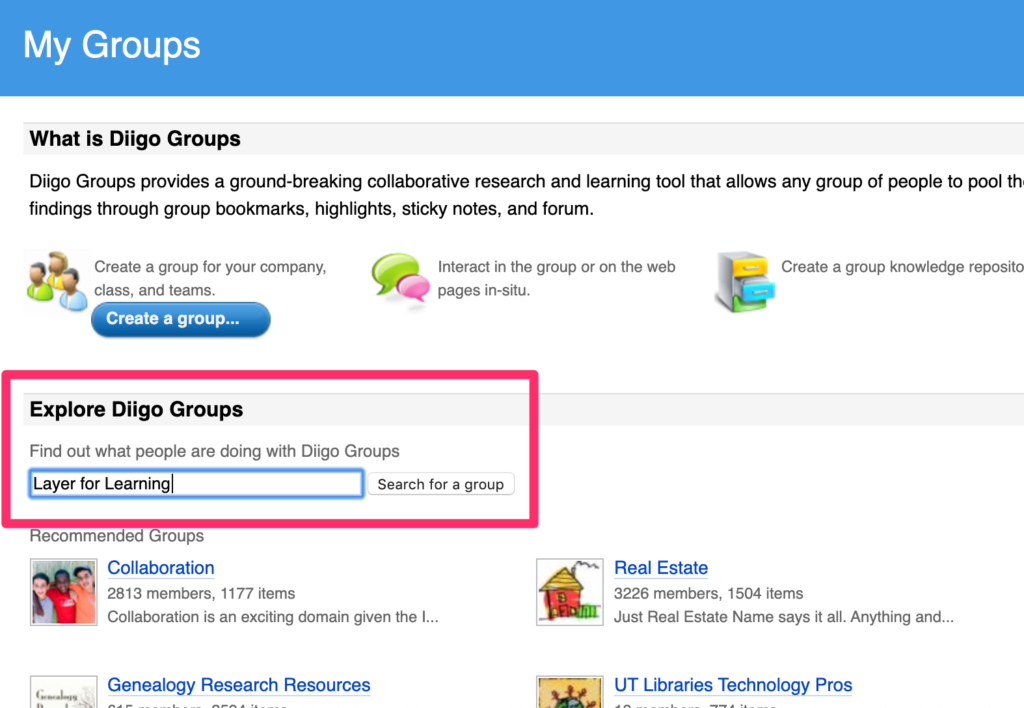
As a Diigo user, you can also search for existing public groups that may interest you. These groups may require the group manager to approve your access or may just let you explore.
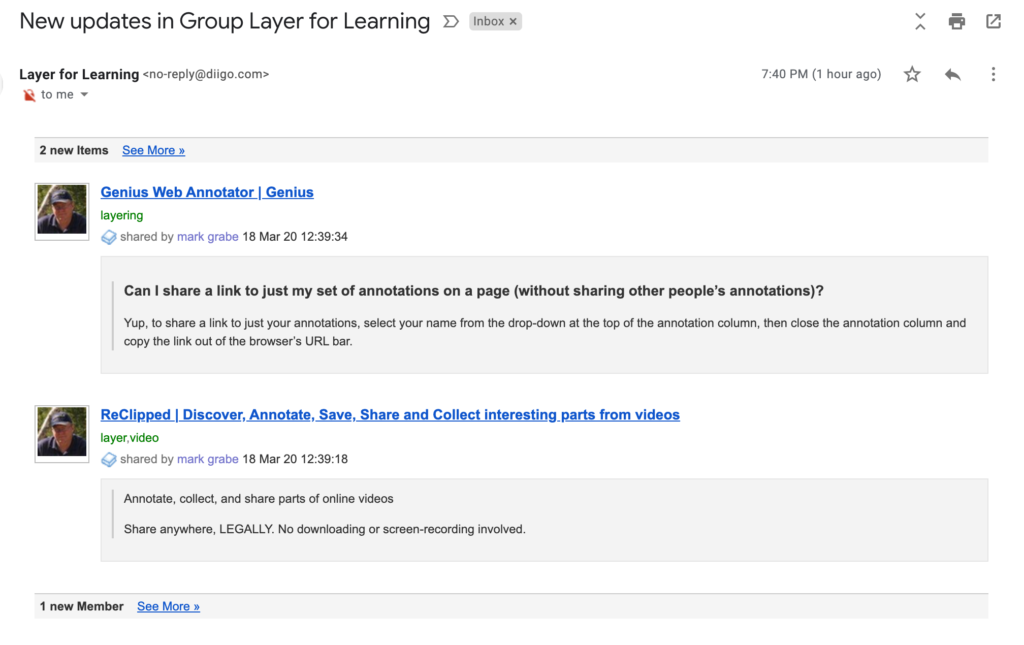
Membership in a group may include a weekly email identifying new contributions for that week.
![]()