Google allows the creation of a shared photo album within Google Photos. Here is a quick tutorial. Imagine a situation in which individuals visit the zoo and want to combine their best images into a collaborative album.
Step 1 – Someone needs to create the shared album. If this is you, here is what you do.
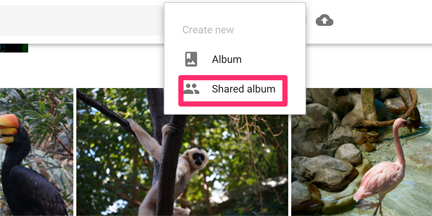
From your Google photos account, select the + icon
A drop down menu should appear and share album will be one of the options
Step 2 – make your initial contributions
You Photos collection will open and you can then select the images you want to add to the collaborative album. You should then select create (upper right-hand corner).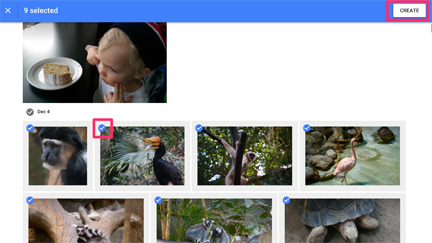
Step 3 – enter name for the shared album
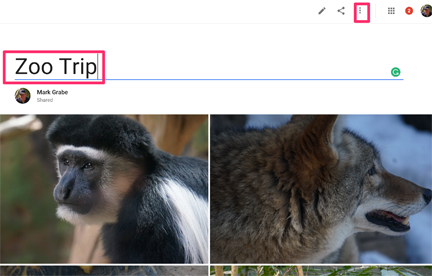
Enter a title for the shared album and then select the three dot icon
Step 4 – Share and generate link
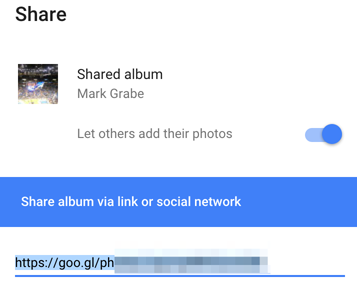
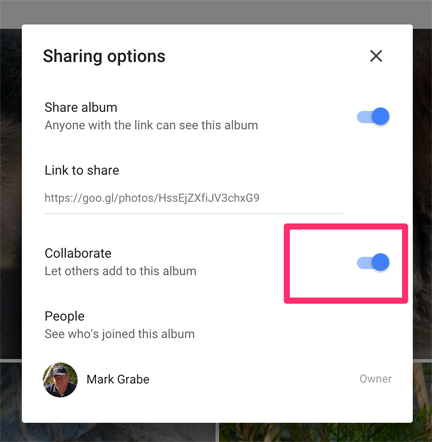
When the three dot icon is selected a dialog box appears with an address for the shared collection. You could provide this address to others if all you want to do is share your selections.
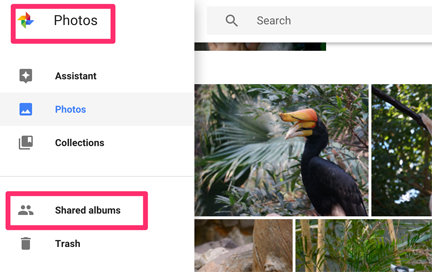
Step 5 – Return to your photos home page and select shared albums
This may seem a little strange, but the next step is to return to your photos home. From this location, access your shared album(s).
Step 6 – Select album you want designated for group contributions
Select the shared album you intend to be used for shared contributions.
You should now see a slider to allow others to contribute images (not just view what you have shared).
Send the link to others
Step 7 – Others connect with the link provided
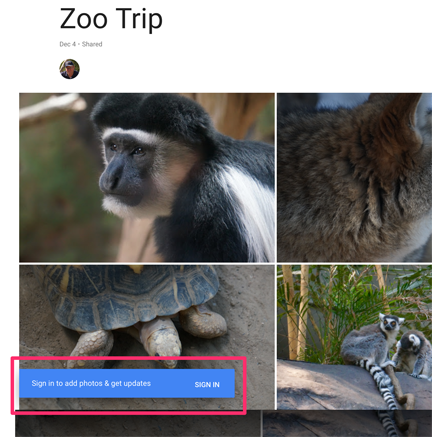
At this point, your work is done and it is time for your collaborators. When someone uses the link you provided, they must first sign in.
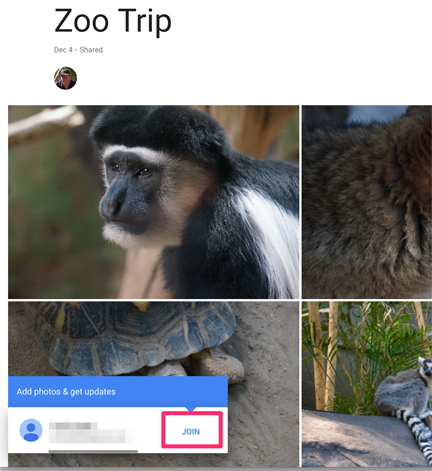
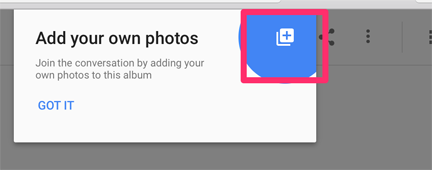
They then join to add photos.
An icon should now appear allowing the selection of photos from their Google Photos.
17 total views


You must be logged in to post a comment.