Note: Adobe has replaced Spark tools with Adobe Express. Spark Video is part of Adobe Express.
Adobe Spark Video is a great tool for students to use to create videos. Adobe Spark is especially useful because it works through a web browser and hence is a great application for use with Chromebooks.
The following is the page you will encounter when you connect. You are going to want to create an account.
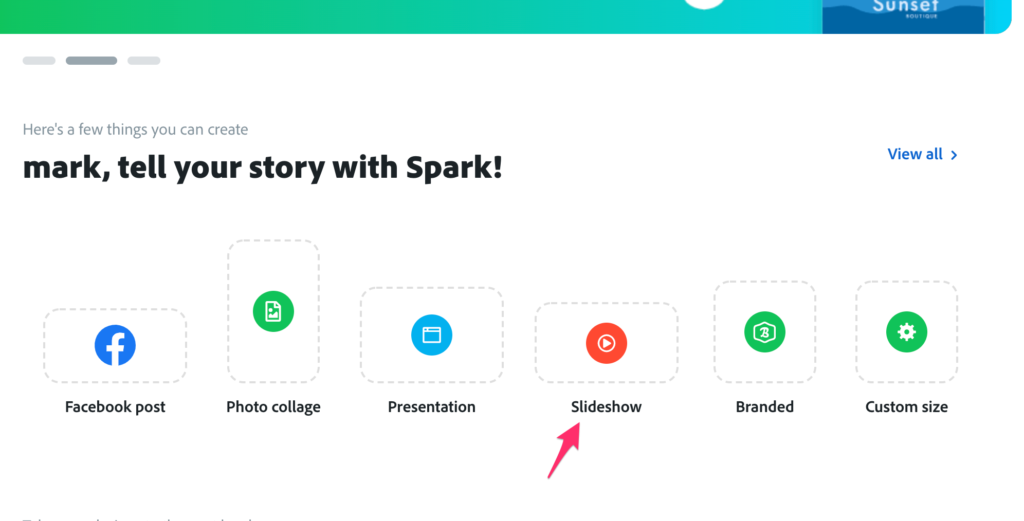
You can create various types of projects with Adobe Spark. My tutorial describes the slideshow.
The following video takes you through the basics of creating with Adobe Spark
Here is the final product from the project described above.
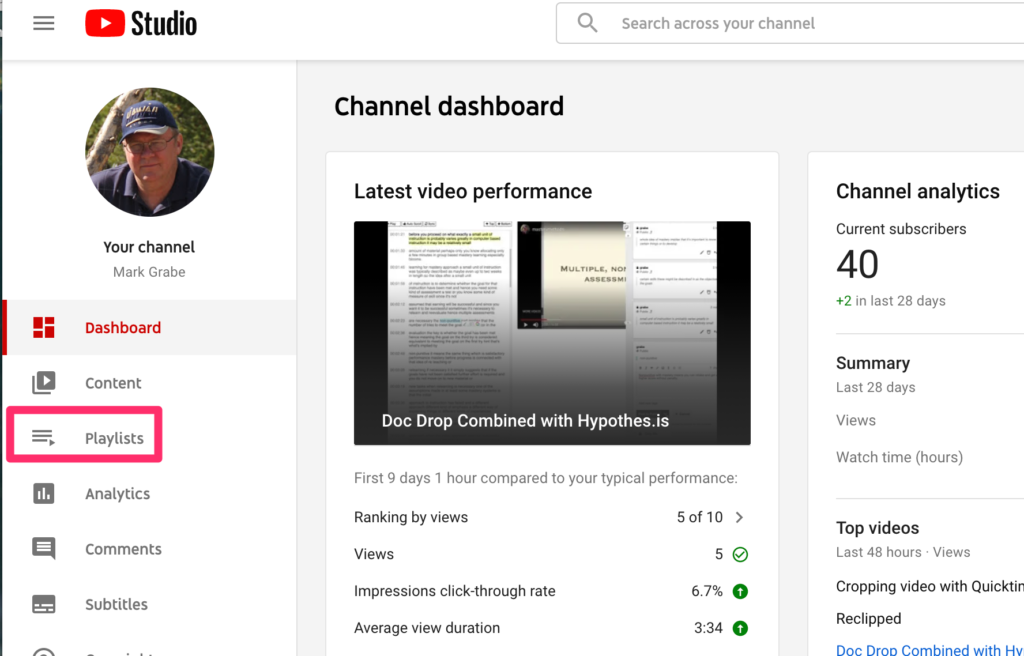
Educators may want to assign a collection of YouTube videos to students for a project or study assignment. This tutorial will explain how this is done and relies mostly on a series of images.
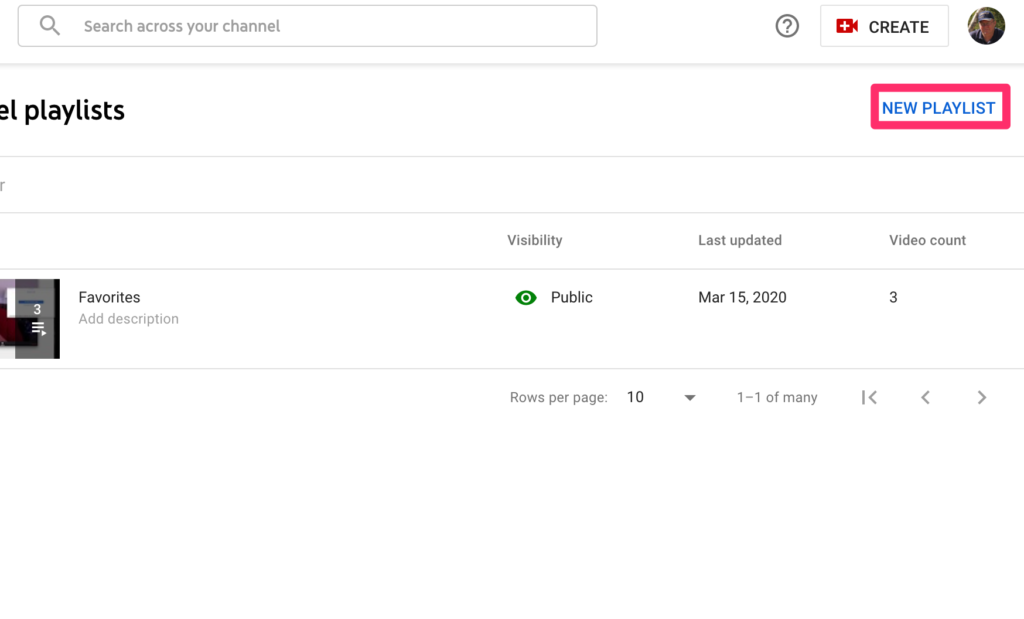
I see this process in three stages – create a playlist, add videos to the playlist, share the playlist with a specific audience. The process works a little differently depending on whether you want to use videos you have created or videos created by others.
Stages 1 and 2 using videos created by others.
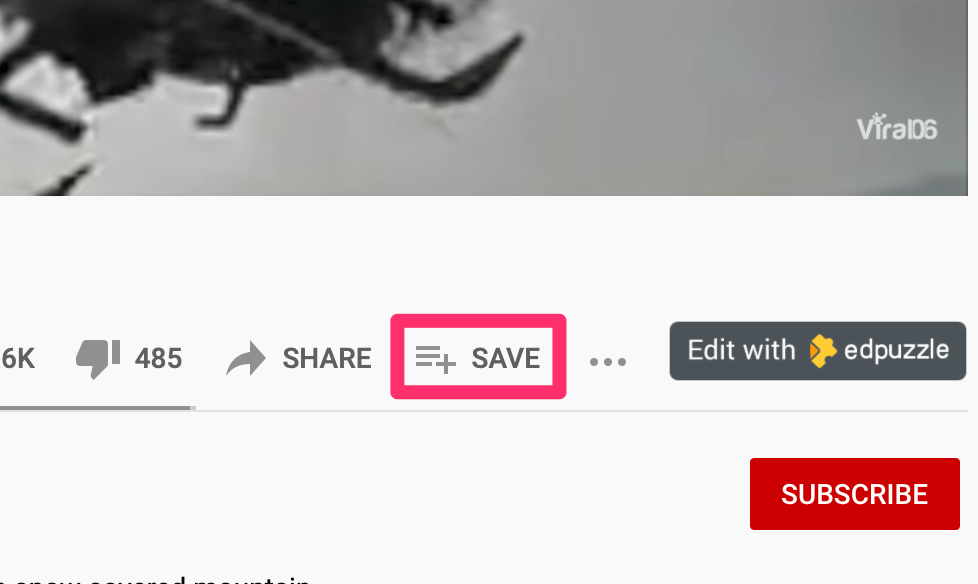
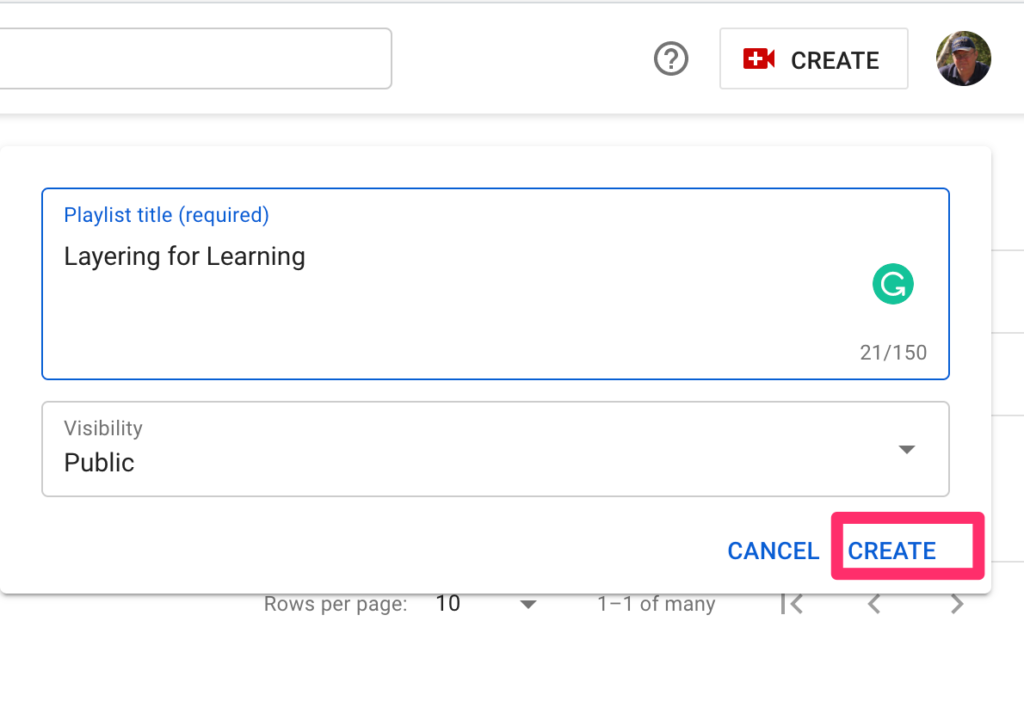
Beneath a video from another source, you will find this save icon. The save icon brings up the option of adding to an existing playlist or creating a new playlist. You would first create a new playlist with a video you wanted to use and then continue to add additional videos. The order of selection can be modified at a later stage so you don’t have to worry about the order when first creating the list.
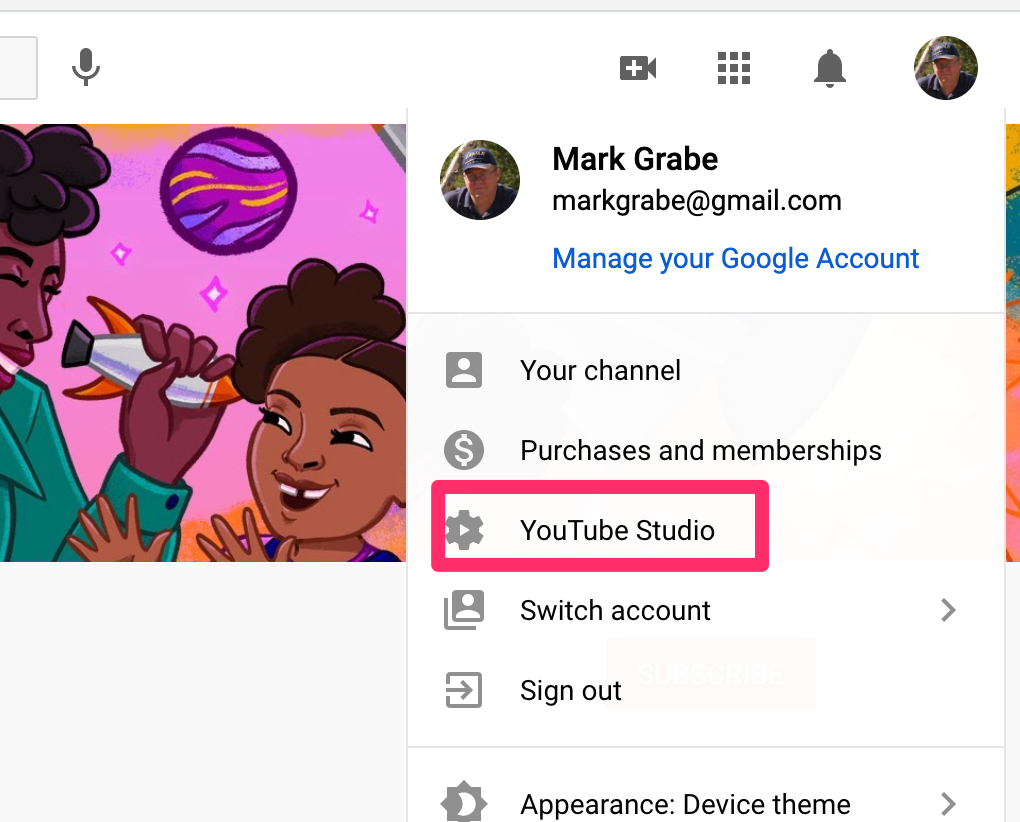
Working with your own videos or a mix of content from your own creations and existing videos seems to work a little differently. To create the list and add your own creations, work through the YouTube Studio.
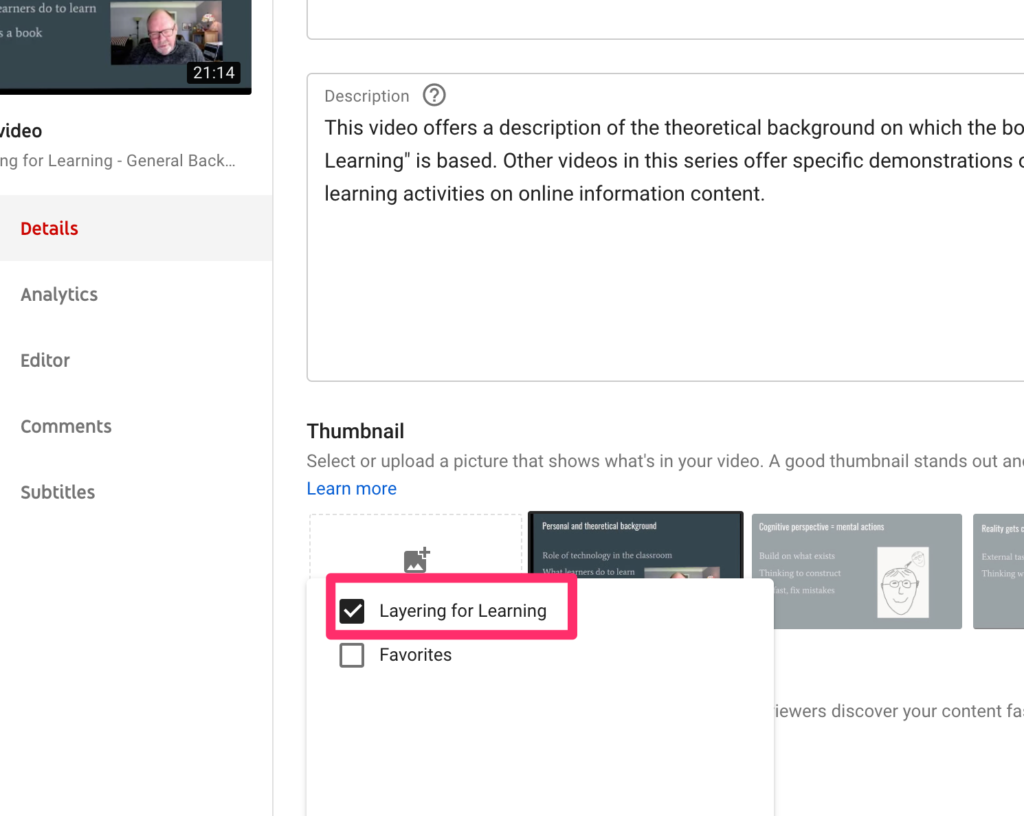
Within the Studio, you can then identify a video you have created to be added, open the video as if to edit, and then use the playlist feature to add to an existing playlist.
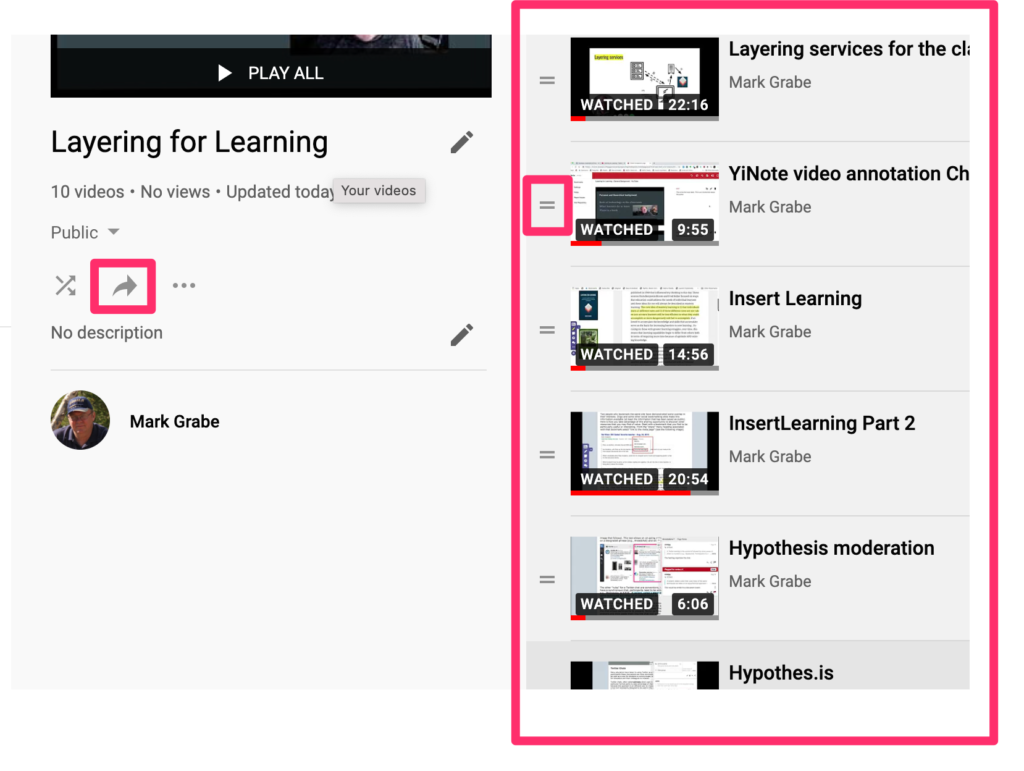
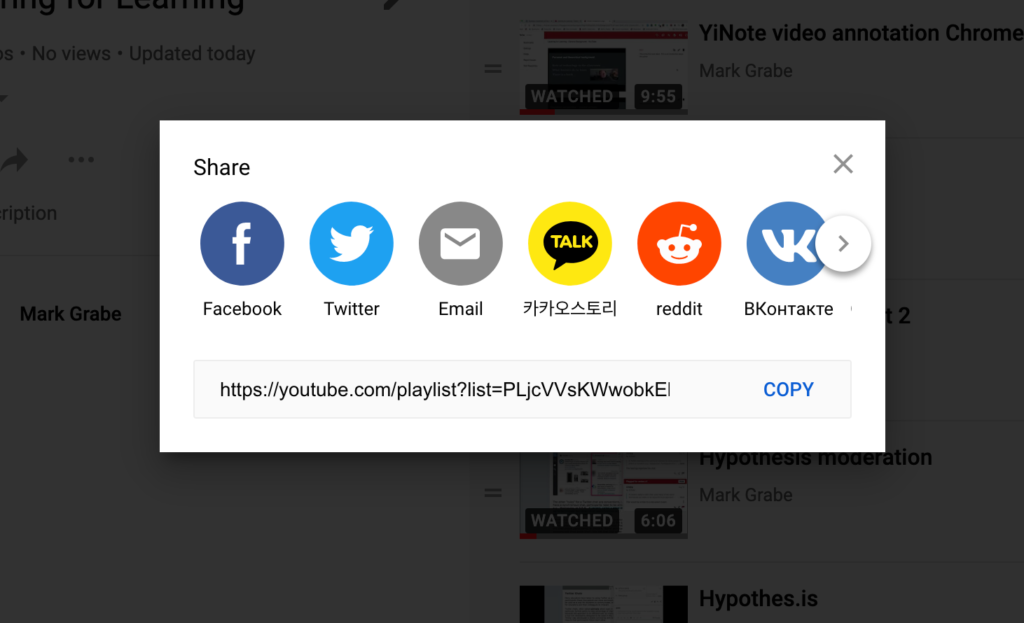
The final step is to share the list with students. Note in this image the share button (left) and the list of selected videos on the right. A key feature of this list of videos is the opportunity to reorder the videos. You drag the video with the small parallel lines icon to change the position. The share icon offers the opportunity to share to various outlets or allows the copying of the URL for sharing with specific individuals.
A sample playlist focused on my own efforts to explain Layering services was created using this process.
I am considering this to be the third contribution to my series on Classroom Gardens. It is related to the other two posts which concern indoor hydroponic gardening only in that time-lapse video is an interesting way to demonstrate plant growth and variations of such a project would be easy to implement
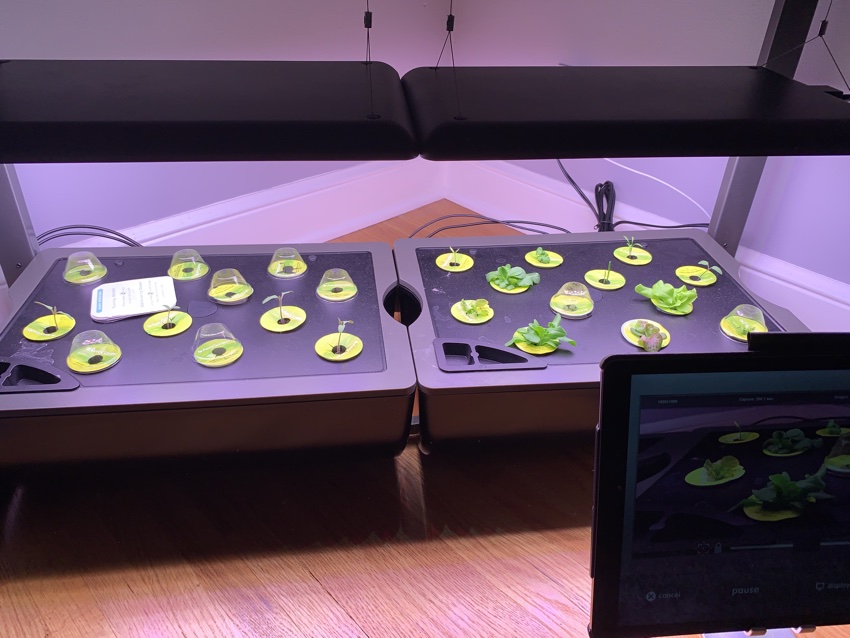
This is my setup for capturing the video of plant growth. The equipment toward the back of the image is the hydroponic garden and you can also see some young plants. Positioned in front and to the right of this garden is an iPad.
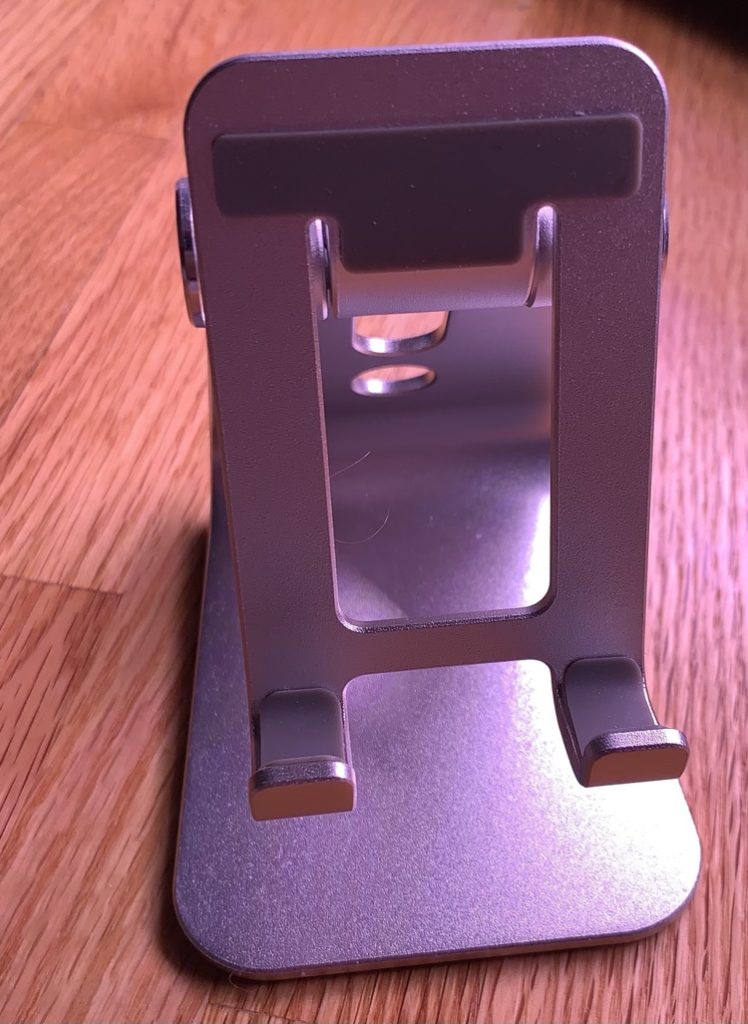
Time-lapse video requires a fixed location for the camera and steady control of the focus of the camera. This device (I wish I knew the name) holds an iPad. The video I provide was taken over a couple of weeks so you need to consider how you will create an environment allowing careful positioning of the camera. As long as no one bumps the iPad, this holder does the trick. A traditional tripod serves a similar purpose when time-lapse video is taken with a camera. It is also necessary to plug the iPad into a power source as the iPad remains active during this entire process so it would have run down the battery without being plugged in.
The app used for this process was iMotion for Schools. In the video tutorial that follows I incorrectly claim iMotion for Schools is the same price as iMotion Pro. I find different prices. I paid $3.99, but the iMotion for Schools page says $5.99
iMotion for Schools Tutorial
Here is the video created with iMotion.
The video you see here has been altered. The original video contained segments of black frames generated during the night when the lights for the hydroponic garden were off. One thing I do not explain in the tutorial which was already getting a little long was the opportunity to edit the video with the app (see tools when the completed video is open). There are tools for adding and removing individual frames. I used the delete frame tool to remove the blank frames. In the video, you see phases of smooth growth and then jumps. The jumps are caused by the growth that occurred during the night when the darkness prevented the recording of these changes.
One hint – you have to do this on the fly so I slowed during the frame rate to 1 frame per second to delete frames and speeded it back up to 16 frames per second before exporting the video. I don’t have an explanation for the flickering you see in the first section of the video. Because the growing lettuce fills the screen toward the end of the video and the flickering is no longer present, I assume the flickering was caused by the exposed lighting.
Loom is a free Chrome extension that allows the recording of the content appearing in chrome as a video AND superimposes a smaller video of you on what is captured from the Chrome screen. I see it as a great way to create tutorials, but it has many possible applications.
Here is a video describing the use of Loom. I am proud of the technique I came up with to generate this video. I am using Quicktime to record the section of the screen within which I am using Loom to simultaneously record a video of what appears within Chrome.
Here is the video generated by Loom. You can match it to the “how to do it” video that appears above.
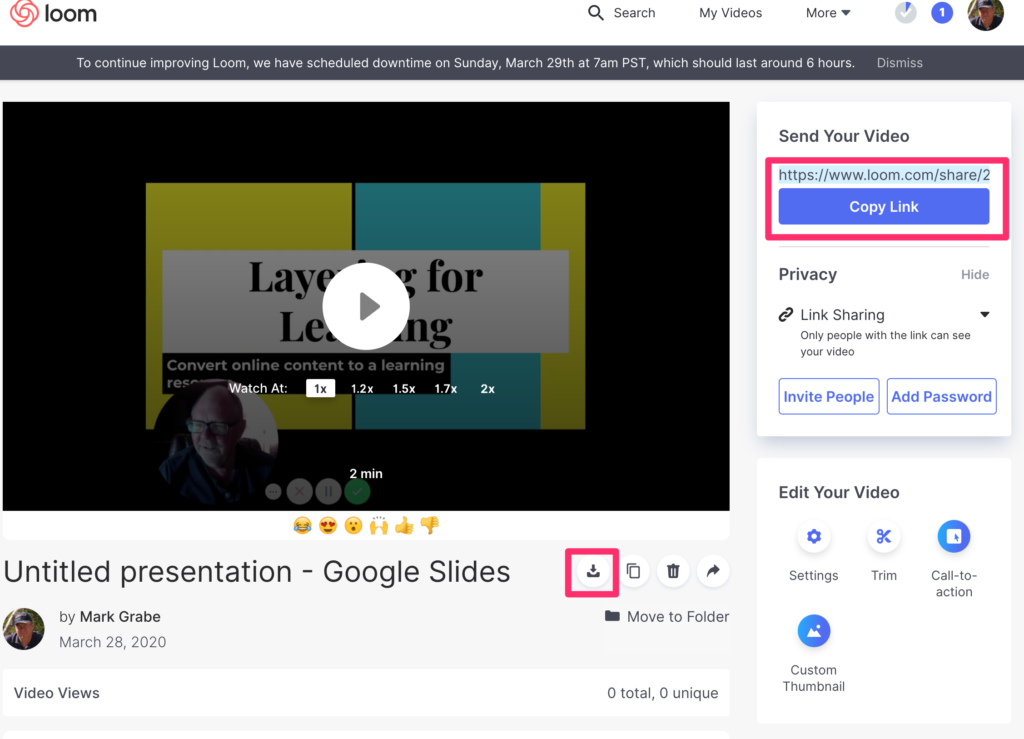
One important demonstration from the Loom processes is not well explained in the first video. At the end of the video, you will see a few seconds of the screen that appears when you end recording in Loom. This screen shows two options for sharing what has been recorded. One is the Link for the content stored by Loom. If you want to do something with this video yourself (for example, put it on Facebook), the download button offers to opportunity to save the video to your computer.
I am teaching a grad class for the UND program in Instructional Design and Technology this semester. I have had the opportunity both before and after retirement to teach a course a year for this program and I truly enjoy the experience. This class theoretically combined on-campus and off-campus students using technology services that allow all to meet in a kind of virtual classroom. Because I no longer live near campus, my courses are now all online.
The technology for the class has not worked very well this semester. The U made a decision to move to a product that operates within the Blackboard environment (Collaborate Ultra) and for what remain mysterious reasons after week two. We have yet to have a class when we can all get the system to work. Last week was particularly problematic because I could not launch the class remotely. Tech people tried to help and even took over my system remotely but nothing would work.
I had enough and fell back on something I knew I could count on – Google Hangouts. I had used this system before with a grad class consistently mostly of K12 educators based my belief that you learn about technology by using technology and Google products would be available to K12 educators (and others) after the class ended. This would not necessarily be the case for a CMS such as Blackboard. I sprung Google Hangouts Video on the class without warning and had a functioning session without problems.
I have since decided to move the Google Hangouts for the semester. I will let the U tech people struggle with Blackboard Collaborate. I thought I would create a simple tutorial related to Hangouts video calls so that my group and others might take advantage of more of the features provided.
I must say I prefer the previous version of Hangouts to the present arrangement. The previous version of Hangouts allowed me to create a “circle” for my class, start a session and share it with a circle within Hangouts, and record the session for distribution to those unable to attend or those wanting to review the session. Google has changed some things. I cannot find a way to share the present version with a circle and the recording feature is now a function of YouTube live. I prefer the old system and I have what are reasonable alternatives.
You should encounter a screen that looks like this. I have X’d out the history of past hangouts I have used. I use video call for my class. If you must deal with more than 9 people in real time, you will have to make the effort to use the YouTube Live alternative.
Video call should bring up a screen allowing making use of your camera and mic and a couple of other things. In the lower left-hand corner, you should see an icon that will launch chat. I will get to that later, but you may want to make use of chat and video/audio with a group. The dialog box appearing in the middle of the screen allows the originator to invite others. In the previous version, this is where I would take advantage of Google circles. I prefer not to have to enter addresses for all members of my class, but I use the copy link to generate and copy a unique URL to the clipboard. I then send this link to all members of the class using any email system. Note – you will not see this link immediately as it is copied to the clipboard. Just assume the address is there and paste when you generate the email invitations.
Students click on the link they receive and show up in the video session.
The video Hangout call allows many features those of us who use online class systems are used to having available. In the upper right-hand corner, you should find an icon that launches the drop down you see here. You can launch that chat tool and screen sharing from here.
Screen sharing offers two options – share the entire screen or share the active window of an application (e.g., PowerPoint, the view from a second browser).
The chat pane is fairly standard and should appear on the left of the video pane. Participants can carry on a chat while others are speaking.
Here is my work around for recording. I simply launch Quicktime (I tend to use Apple products) and record the section of the screen that Hangouts window. I save out recording in 720p and then upload to YouTube for sharing and archiving. The upload takes some time for a multi hour class, but I do not have sit and watch while this is happening.
I have become interested in various ways to markup online content to assist learners. YouTube offers developers an annotation feature allowing multiple the inclusion of information in several different formats. However, the YouTube author must turn this feature on and add the annotations. What about situations in which a teacher may want to layer annotations on a video that the teacher did not create?
VideoAnt, one interesting approach developed at the University of Minnesota, offers an easy way to time-stamp annotations. To annotate an existing video, you enter the address for the video and then click an icon to stop the video and open a window for the annotation.
I have questions about how fair use applies to content offered in this way (I created the video I use in my example). If someone created YouTube content as an income source based on showing ads would layering annotations and then offering the combination limit payments to the creator? I am still searching for an online commentary on this use of online video.
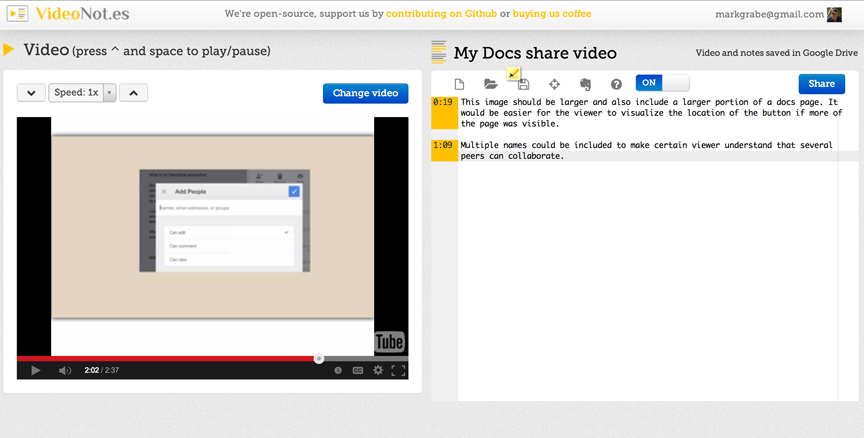
VideoNot.es is a Google app that is used to annotate video. The app runs within a browser. Comments related to a video (e.g., a YouTube video) are time stamped. When finished, clicking a comment cues up the associated section of the video.
My first thought when reviewing the app was that it could be used in place of the expensive software qualitative researchers use to annotate video. It might also be thought of as a way to take notes from video – say the type of video used in a flipped classroom scenario. Like several products that allow students to annotate a simultaneous audio recording the product would allow the student to review parts of the video that require more careful thought. The system also makes a great way to evaluate and share thoughts on a video product under development. The file resulting from such an analysis can then be shared.
We use cookies to ensure that we give you the best experience on our website. If you continue to use this site we will assume that you are happy with it.Ok


You must be logged in to post a comment.